
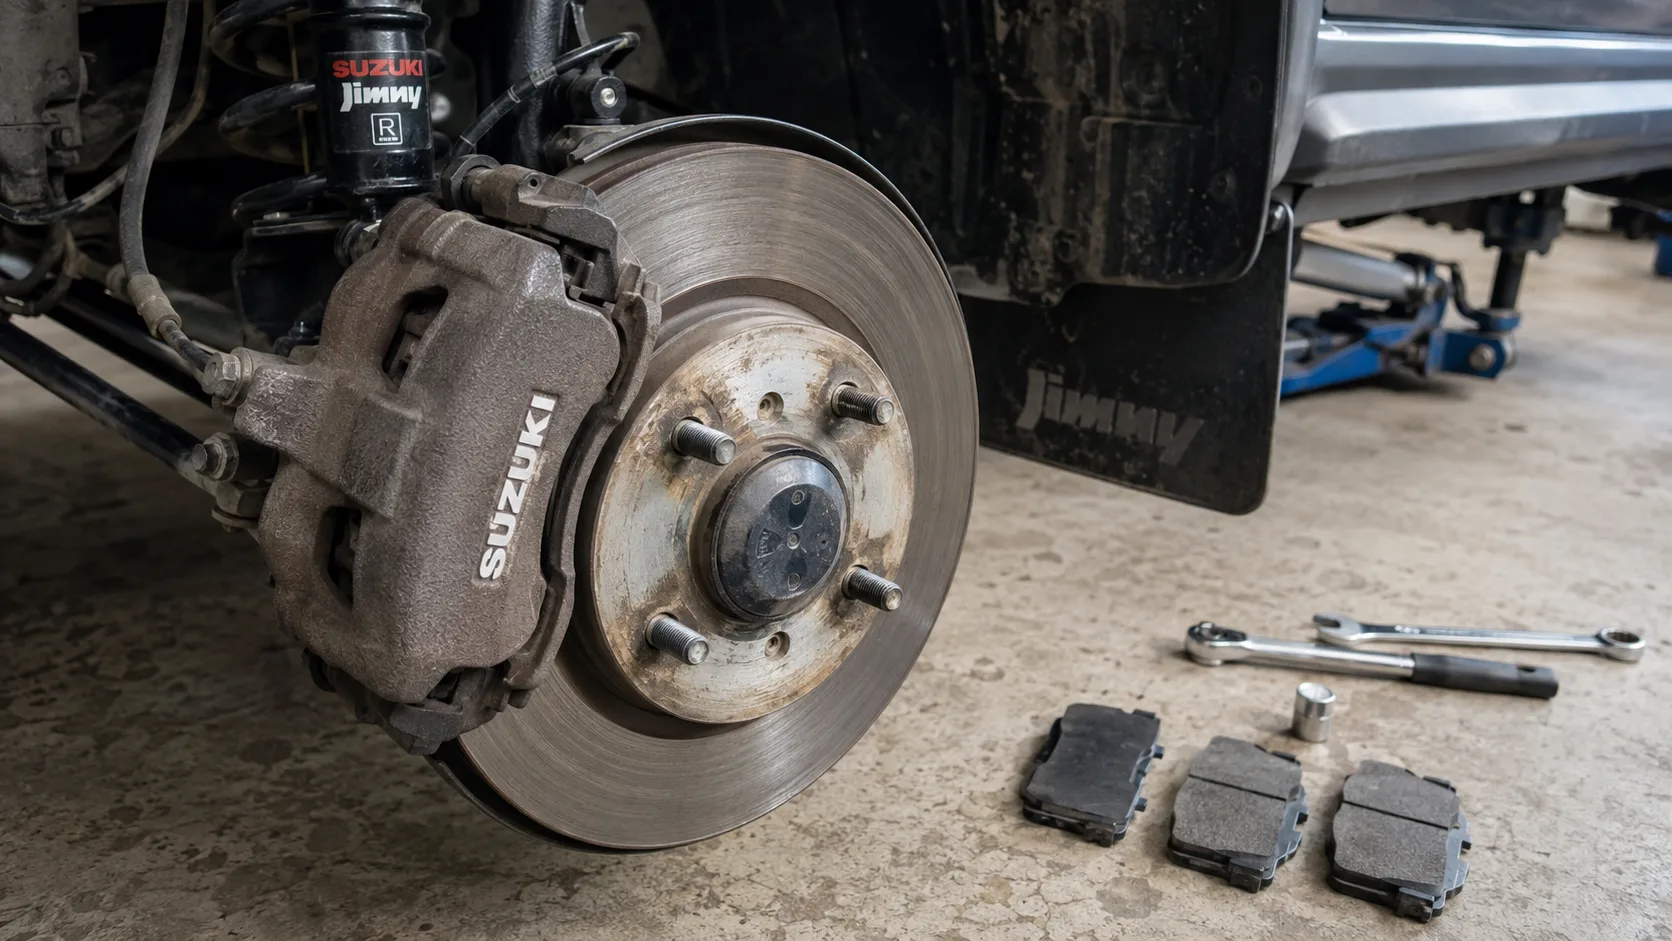
Brakes are the most important safety system on your Jimny — and front pad replacement is a job a careful, mechanically confident owner can do at home. This guide covers the process, the warning signs that pads need replacing, and the honest advice on when to hand the job to a professional instead.
⚠ Brakes are safety-critical
If you are not fully confident working on brakes, have this job done by a qualified mechanic. Incorrectly fitted brakes can fail with serious consequences. This guide is written for competent DIYers and is not a substitute for proper training or a workshop manual for your specific vehicle.
Safety First — Read Before You Start
- Never work under a vehicle supported only by a jack. Always use rated axle stands on firm, level ground, and chock the wheels remaining on the ground.
- Work on a cold engine and cold components where the job involves hot fluids or brakes — fresh-run oil and brake parts can cause serious burns.
- Wear eye protection and gloves. Used oil, brake dust and brake fluid are hazardous.
- Use the correct torque settings — under- or over-tightening fasteners on a 4×4 is dangerous, especially on wheels and brakes.
- If you are not fully confident — especially with brakes — have the work done by a qualified mechanic. There is no shame in it, and safety-critical systems are not the place to learn under pressure.
When Do Jimny Brake Pads Need Replacing?
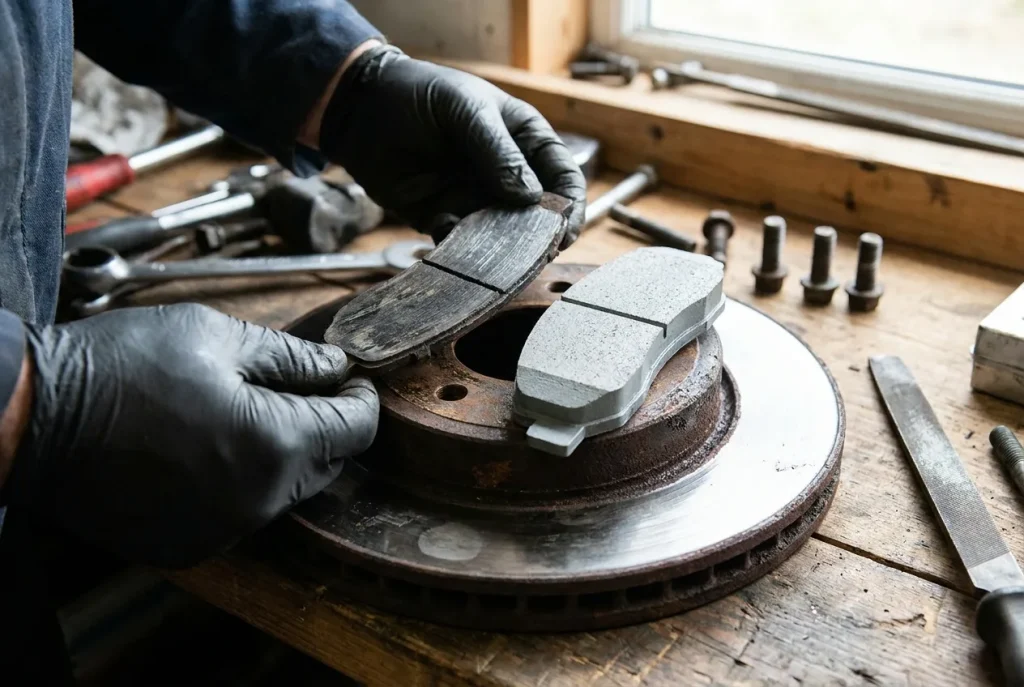
Don’t wait for a problem — inspect your pads at every service and watch for these warning signs:
| Warning Sign | What It Means |
|---|---|
| Squealing when braking | Wear indicators contacting the disc — pads near minimum |
| Grinding noise | Pads worn through to backing plate — disc damage likely; act immediately |
| Longer stopping distances | Reduced braking performance — investigate |
| Vibration through the pedal | Possible warped disc or uneven pad wear |
| Visible thin pad material | Less than ~3 mm of friction material — plan replacement |
| Brake warning light | Various — have the system checked |
Front pads wear faster than rear (front brakes do most of the work). The Jimny’s front brakes are ventilated discs; rear setups vary by model and market (drums on some, discs on others). This guide focuses on front disc pads, the most common DIY brake job.
On brakes, "good enough" isn’t good enough. If anything feels uncertain during the job, stop and get a professional. Your brakes are the only thing between you and the car in front.
Sarah Okafor, Compact Conqueror
What You’ll Need
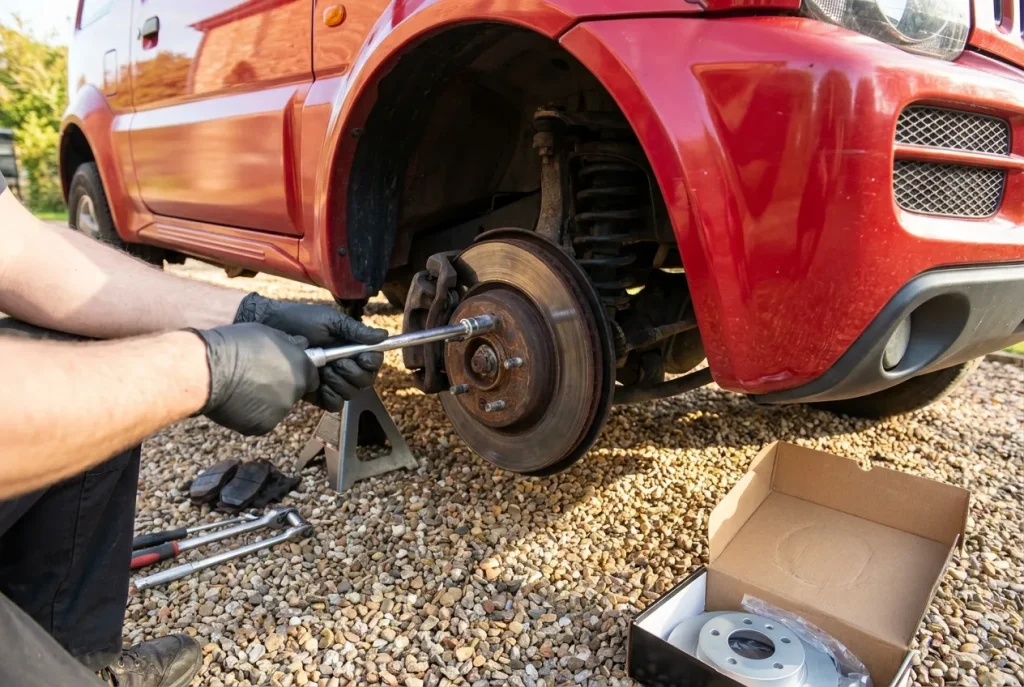
- Replacement front brake pads (correct part for your model and year)
- Socket set and spanners (for caliper and slider bolts)
- C-clamp or piston-retraction tool (to push the caliper piston back)
- Brake cleaner spray
- Copper grease / brake-specific lubricant (for slider pins and pad backs, never the friction surface)
- Torque wrench (essential — caliper and wheel bolts must be correctly torqued)
- Rated axle stands, wheel chocks, and a jack
- Gloves and eye protection — brake dust is hazardous
- A length of wire or a bungee (to support the caliper — never let it hang by the hose)
Step-by-Step: Front Brake Pad Replacement
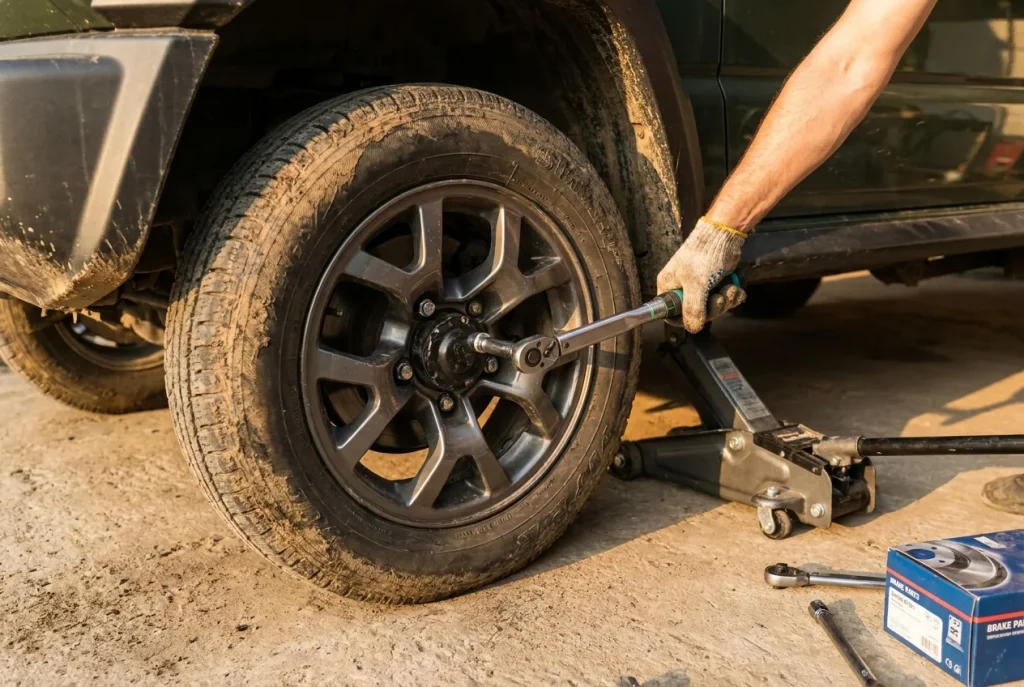
- Loosen the wheel bolts while the vehicle is on the ground, then raise the front, secure on rated axle stands, and chock the rear wheels. Remove the wheel.
- Inspect the disc and caliper. Check the disc for deep scoring, cracks, or a pronounced lip — a badly worn or warped disc needs replacement, not just pads.
- Remove the caliper. Unbolt the caliper slider/guide bolts. Slide the caliper off the disc. Support it with wire or a bungee — never allow it to hang by the flexible brake hose, which can damage the hose internally.
- Remove the old pads. Note their orientation and any shims, clips, or wear-indicator position so the new pads go in the same way.
- Retract the piston. Use a C-clamp or piston tool to push the caliper piston fully back into its bore, making room for the thicker new pads. Watch the brake fluid reservoir — retracting the piston raises the fluid level; do not let it overflow.
- Clean and lubricate. Clean the caliper carrier and slider pins with brake cleaner. Apply a thin film of brake-specific lubricant to the slider pins and the back of the pads (the metal backing only — never the friction surface or the disc).
- Fit the new pads in the correct orientation with any shims/clips transferred or replaced.
- Refit the caliper over the new pads and torque the slider/guide bolts to the manufacturer’s specification.
- Refit the wheel and torque the wheel bolts to specification in a star pattern.
- Pump the brake pedal several times before driving to bring the pads into contact with the disc — the first one or two presses will feel soft. Do not drive until the pedal is firm.
- Bed in the new pads with a series of gentle-to-moderate stops over the first 200–300 km, avoiding hard braking, to transfer an even layer of friction material to the disc.
⚠ Test before you rely on them
After the job, with the engine running, confirm a firm, high brake pedal before moving. Then test the brakes gently at low speed in a safe area before normal driving. If the pedal is soft, spongy, or sinks, do not drive — recheck your work or seek professional help immediately.
When to Use a Professional Instead
Hand the job to a qualified mechanic if: you are not fully confident; the discs are worn, warped, or scored and need machining or replacement; the caliper pistons are seized; you discover corroded or seized slider pins; or the rear brakes (especially drums) need attention, which is more involved. There is no downside to professional brake work — it is money well spent on the system that keeps you safe.
Frequently Asked Questions
How do I know when my Jimny needs new brake pads?
Watch for squealing when braking (wear indicators contacting the disc), longer stopping distances, vibration through the pedal, or visibly thin pad material (less than about 3 mm). A grinding noise means the pads are worn through to the backing plate — stop driving and address it immediately, as the discs are being damaged. Inspect pads at every service rather than waiting for symptoms.
Can I replace Jimny brake pads myself?
Front disc pad replacement is achievable for a careful, mechanically confident owner with the right tools, including a torque wrench. However, brakes are safety-critical — if you are not fully confident, or if the discs or calipers need attention, have the work done by a qualified mechanic. Always confirm a firm pedal and test the brakes gently before relying on them.
How often do Jimny brake pads need replacing?
It depends heavily on driving style, load and terrain — there is no fixed interval. Front pads wear faster than rear. Inspect them at every service (every 10,000–15,000 km) and replace when the friction material approaches the minimum thickness or wear indicators sound. Off-road and heavily loaded use, and frequent descents, accelerate wear.
Do I need to replace the brake discs when changing pads?
Not always — but inspect them. If the discs are deeply scored, warped (causing pedal vibration), cracked, or worn below their minimum thickness, they need machining or replacement at the same time. Fitting new pads to badly worn discs compromises braking and wears the new pads quickly. When in doubt, have the discs measured.
Why must I pump the brake pedal after changing pads?
When you retract the caliper piston to fit the thicker new pads, the piston moves back into its bore. Pumping the pedal pushes the piston back out until the new pads contact the disc. The first one or two presses will feel soft as this gap closes. You must establish a firm, high pedal before driving — never drive with a soft pedal.
What is bedding in, and why does it matter?
Bedding in is the process of transferring an even layer of friction material from the new pads to the disc through a series of gentle-to-moderate stops over the first 200–300 km, avoiding hard braking. Proper bedding in ensures consistent braking performance and prevents uneven deposits that cause vibration. Follow the pad manufacturer’s bedding-in instructions if provided.
Fluid grades, capacities and torque settings vary by engine variant, model year and market. The figures here are an indicative guide — always confirm the correct specification for your specific vehicle against the owner’s manual or a factory/Haynes service manual, and torque all fasteners to the manufacturer’s specification.
Related Reading
Free Newsletter
The Compact Conqueror Newsletter
DIY guides, maintenance reminders, mod picks and Jimny news — free, every week.
Free Jimny Tool
What will your Jimny really cost to own?
Fuel, insurance, tyres and servicing — get a realistic monthly and annual running-cost estimate in under a minute.